
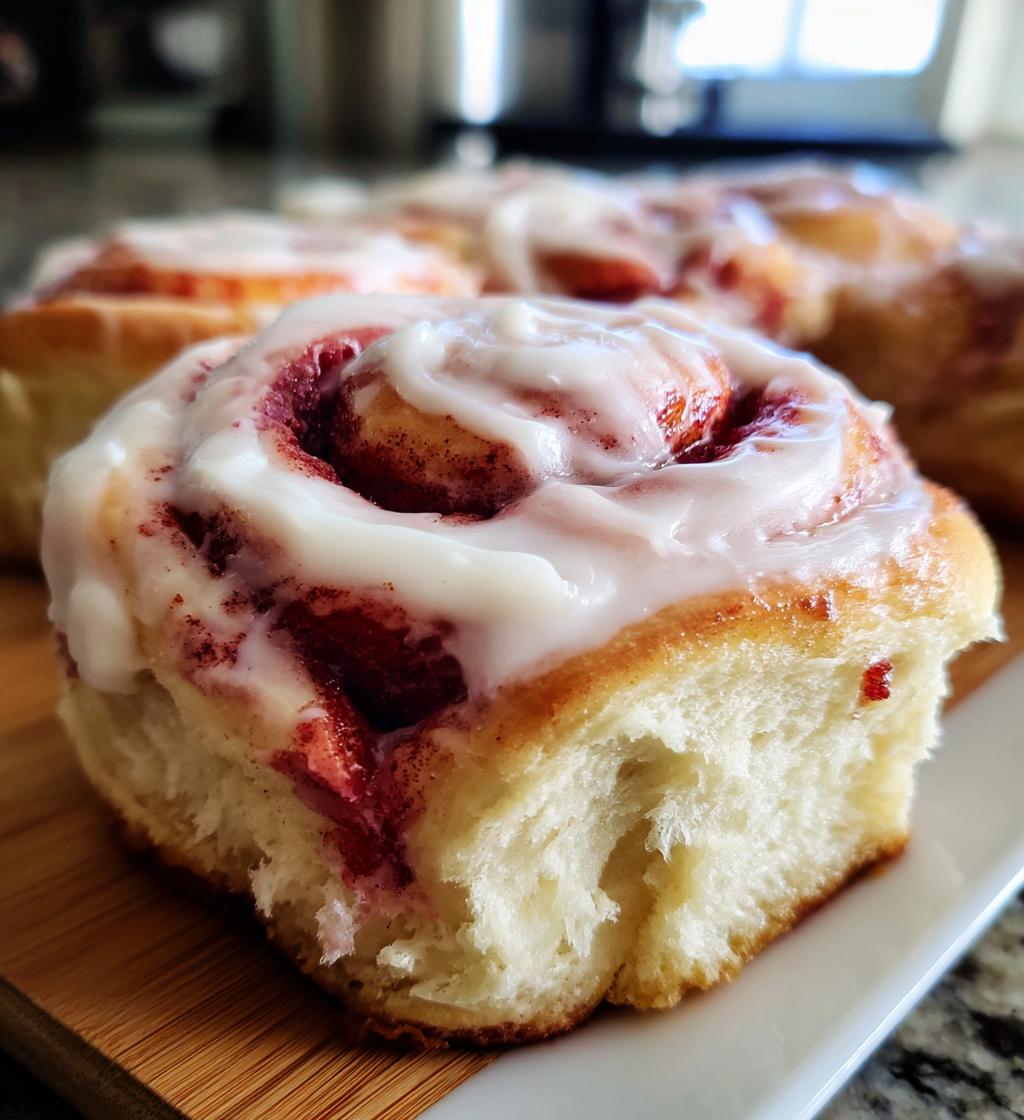
Oh my goodness, have you ever tasted a red velvet cinnamon roll? If not, you’re in for a treat! Imagine biting into a soft, pillowy roll with that signature red hue, swirled with a luscious cinnamon filling, and topped with a creamy, dreamy cream cheese frosting. Making these red velvet cinnamon rolls from scratch is such a rewarding experience! I remember the first time I tried my hand at them—I was a little terrified but so excited. The kitchen filled with the most heavenly aroma, and I knew I was onto something special. Trust me, there’s nothing quite like the satisfaction of pulling these beauties from the oven, knowing you made them entirely from scratch. So, let’s dive into this incredible 5-step recipe that will have everyone asking for seconds!
Ingredients for Red Velvet Cinnamon Rolls from Scratch
Gather these simple yet essential ingredients to whip up your delicious red velvet cinnamon rolls from scratch. Trust me, having everything ready makes the process so much smoother!
- 2 cups all-purpose flour
- 1 cup granulated sugar
- 1/2 cup unsweetened cocoa powder
- 1 teaspoon baking powder
- 1/2 teaspoon baking soda
- 1/4 teaspoon salt
- 1/2 cup buttermilk, at room temperature
- 1/2 cup unsalted butter, melted
- 2 large eggs, at room temperature
- 1 tablespoon red food coloring
- 1 tablespoon vanilla extract
- 1/2 cup brown sugar, packed
- 1 tablespoon ground cinnamon
- 1 cup cream cheese, softened
- 1/2 cup powdered sugar
With these ingredients in hand, you’re all set to create some truly mouthwatering rolls that will wow your friends and family! Make sure to measure everything out accurately for the best results. Happy baking!
How to Prepare Red Velvet Cinnamon Rolls from Scratch
Now that we’ve got our ingredients ready, let’s get down to the fun part: making these scrumptious red velvet cinnamon rolls from scratch! Follow these clear steps, and you’ll have delicious rolls in no time.
Step 1: Preheat Your Oven
First things first, you’ll want to preheat your oven to 350°F (175°C). Preheating is super important because it ensures that your rolls bake evenly and rise beautifully. So, don’t skip this step! While the oven warms up, you can get everything else prepped.
Step 2: Mix Dry Ingredients
In a large bowl, combine the all-purpose flour, granulated sugar, unsweetened cocoa powder, baking powder, baking soda, and salt. I like to use a whisk for this—it helps to break up any lumps and ensures everything is well mixed. The cocoa powder is what gives those rolls that rich, chocolatey flavor, so make sure it’s evenly distributed!
Step 3: Combine Wet Ingredients
In a separate bowl, mix together the buttermilk, melted butter, eggs, red food coloring, and vanilla extract. I find it’s best to whisk these together until they’re nice and smooth. The red food coloring is crucial for that signature look, so don’t hold back! Get everything incorporated well; it’ll make your dough vibrant and fabulous.
Step 4: Form the Dough
Now it’s time to combine your wet and dry ingredients! Pour the wet mixture into the bowl with the dry ingredients and stir until just combined. Don’t overmix—this keeps your rolls tender and fluffy. Once you’ve got a nice dough, flour your work surface and roll it out into a rectangle, about 1/4 inch thick. Spread the brown sugar and cinnamon mixture evenly over the surface. Then, carefully roll the dough tightly from one end to the other, forming a log. Slice the log into equal pieces, about 1 inch thick, and place them into a greased baking dish.
Step 5: Bake and Cool
Pop those beautiful rolls into your preheated oven and bake for 25-30 minutes, or until they’re puffed and a toothpick inserted in the center comes out clean. The aroma will be absolutely heavenly! Once they’re done, let them cool in the pan for about 10 minutes before adding your cream cheese frosting. This little cooling time helps set the rolls and makes frosting a breeze!
Why You’ll Love This Recipe
Oh, where do I even start? Making red velvet cinnamon rolls from scratch is not just a treat for the taste buds; it’s a delightful experience that you’ll want to repeat again and again! Here are just a few reasons why you’ll fall head over heels for this recipe:
- **Quick and Easy**: With just 5 simple steps, you can whip up these delicious rolls without any fuss.
- **Decadent Flavor**: The combination of rich cocoa and sweet cinnamon will have everyone begging for the recipe!
- **Homemade Goodness**: There’s something so satisfying about making these from scratch—you know exactly what goes into them!
- **Perfect for Any Occasion**: Whether it’s a cozy brunch, a special celebration, or just a treat for yourself, these rolls fit right in.
- **Customizable**: Want to experiment? You can easily tweak the filling or frosting to match your taste!
- **Impressive Presentation**: Those vibrant red rolls look stunning on any table—great for impressing guests!
Trust me, once you’ve tried these homemade red velvet cinnamon rolls, you won’t want to go back to store-bought ever again. They’re just that good!
Tips for Success
Alright, let’s make sure your red velvet cinnamon rolls turn out perfectly! Here are some handy tips that I’ve learned over the years to help you avoid common pitfalls and ensure success:
- Don’t skip the buttermilk: It adds moisture and richness to the dough. If you don’t have any on hand, you can make a quick substitute by mixing regular milk with a splash of vinegar or lemon juice—let it sit for about 5 minutes before using!
- Room temperature ingredients: Make sure your eggs and buttermilk are at room temperature. This helps create a smoother batter and better incorporation of ingredients, leading to fluffier rolls!
- Be gentle when mixing: Overmixing can lead to tough rolls. Just mix until everything is combined and the dough is slightly sticky—that’s the sweet spot!
- Let the dough rest: If you find your dough is a bit tough to roll out, let it rest for 5-10 minutes. This allows the gluten to relax and makes it easier to work with.
- Use dental floss for slicing: For perfectly shaped rolls, use unscented dental floss to slice through the log. Just slide it under the dough, cross the ends over each other, and pull tightly. It’s a game changer!
- Check for doneness: Keep an eye on your rolls towards the end of baking. If they look slightly underbaked, that’s okay—they’ll continue to cook in the pan as they cool.
- Don’t frost them too soon: Let your rolls cool slightly before adding the cream cheese frosting. This helps it melt just enough to create that dreamy glaze without sliding off!
With these tips in your back pocket, you’ll be well on your way to cinnamon roll perfection! Enjoy the process and have fun in the kitchen—it’s the best part!
Nutritional Information
When it comes to enjoying these delightful red velvet cinnamon rolls, it’s always good to know what you’re indulging in! Here’s an estimated nutritional breakdown per roll, so you can savor each bite with a little knowledge:
- Calories: 320
- Sugar: 18g
- Fat: 15g
- Saturated Fat: 9g
- Unsaturated Fat: 3g
- Trans Fat: 0g
- Carbohydrates: 44g
- Fiber: 2g
- Protein: 4g
- Cholesterol: 60mg
- Sodium: 250mg
Keep in mind that these values are estimates and can vary based on ingredient brands and portion sizes. But hey, a little treat now and then is part of the fun, right? Enjoy your delicious rolls without guilt and relish each scrumptious bite!
FAQ About Red Velvet Cinnamon Rolls from Scratch
Can I use regular food coloring instead of red?
Absolutely! While I love the classic red hue, you can use any color food coloring you prefer to give your cinnamon rolls a fun twist. Just keep in mind that the flavor won’t change, so feel free to get creative! If you want a more natural approach, you could even try beet juice for a lovely shade—just be careful with the amount, as it can be quite potent!
How do I store leftovers?
If you happen to have any leftover red velvet cinnamon rolls (which is rare in my house!), store them in an airtight container at room temperature for up to 2 days. For longer storage, pop them in the fridge, where they’ll last about a week. Just make sure to let them cool completely before sealing them up. You can also freeze them for up to 2 months—just wrap each roll tightly in plastic wrap and place them in a freezer-safe bag. Thaw them overnight in the fridge when you’re ready to enjoy!
Can I make these cinnamon rolls ahead of time?
You bet! These cinnamon rolls are perfect for making ahead of time. You can prepare the dough and roll them up, then place them in your greased baking dish. Cover them tightly with plastic wrap and refrigerate overnight. The next morning, just let them sit at room temperature for about 30 minutes before baking—this allows them to rise a bit more. It’s a great way to have fresh, warm rolls ready for breakfast without the morning rush!
Serving Suggestions
Now that you’ve got your beautiful red velvet cinnamon rolls fresh out of the oven, let’s talk about how to elevate your serving game! These rolls are delightful on their own, but pairing them with the right accompaniments can take them to the next level. Here are some of my favorite ideas:
- Coffee or Espresso: There’s nothing quite like a warm cinnamon roll paired with a steaming cup of coffee or a rich espresso. The flavors complement each other perfectly, making for a cozy breakfast or snack.
- Fresh Berries: Add a pop of freshness with a side of mixed berries—think strawberries, blueberries, or raspberries. Their bright flavors and juicy texture contrast beautifully with the sweet rolls.
- Whipped Cream: A dollop of freshly whipped cream on top of your rolls adds a light and airy touch. It’s like a hug for your taste buds!
- Ice Cream: For a decadent dessert, serve your warm cinnamon rolls with a scoop of vanilla or cream cheese ice cream. The melty goodness is simply divine!
- Maple Syrup: Drizzling a little maple syrup over the top will add an extra layer of sweetness that pairs well with the rich flavors of the rolls.
- Chocolate Sauce: If you’re feeling indulgent, a drizzle of warm chocolate sauce can take your rolls from yummy to out-of-this-world delicious!
These serving suggestions will not only complement your red velvet cinnamon rolls but also create a delightful experience for you and your guests. Enjoy every moment of your sweet creation!
Storage & Reheating Instructions
After all that hard work making your delicious red velvet cinnamon rolls, you might find yourself with some leftovers (if you’re lucky!). Storing them properly is key to keeping them fresh and tasty for days to come. Here’s how to do it:
- At Room Temperature: If you plan on enjoying your rolls within a couple of days, simply place them in an airtight container at room temperature. They’ll stay soft and delicious for up to 2 days!
- In the Refrigerator: For longer storage, move those rolls to the fridge! Just make sure they’re completely cooled before sealing them in an airtight container. They should keep well for about a week—though I doubt they’ll last that long!
- Freezing for Later: If you want to save some for a special occasion, freeze them! Wrap each roll tightly in plastic wrap, then place them in a freezer-safe bag or container. They’ll be good for up to 2 months. When you’re ready to enjoy, just thaw them overnight in the fridge.
Now, let’s talk reheating! To bring those rolls back to life:
- In the Microwave: For a quick warm-up, pop a roll in the microwave for about 15-20 seconds. This will make it soft and gooey again!
- In the Oven: For a more evenly warmed roll, preheat your oven to 350°F (175°C) and bake for about 10 minutes. This method not only warms them up but also helps maintain that fresh-baked texture.
With these storage and reheating tips, you can enjoy your red velvet cinnamon rolls any time! Just be sure to take a moment to appreciate how lovely they are—because you totally deserve it!
Print
Red velvet cinnamon rolls from scratch: 5 steps to bliss
- Total Time: 50 minutes
- Yield: 12 rolls 1x
- Diet: Vegetarian
Description
A simple recipe to make red velvet cinnamon rolls from scratch.
Ingredients
- 2 cups all-purpose flour
- 1 cup sugar
- 1/2 cup unsweetened cocoa powder
- 1 teaspoon baking powder
- 1/2 teaspoon baking soda
- 1/4 teaspoon salt
- 1/2 cup buttermilk
- 1/2 cup butter, melted
- 2 large eggs
- 1 tablespoon red food coloring
- 1 tablespoon vanilla extract
- 1/2 cup brown sugar
- 1 tablespoon ground cinnamon
- 1 cup cream cheese, softened
- 1/2 cup powdered sugar
Instructions
- Preheat your oven to 350°F (175°C).
- In a bowl, mix flour, sugar, cocoa powder, baking powder, baking soda, and salt.
- In another bowl, combine buttermilk, melted butter, eggs, food coloring, and vanilla.
- Combine the wet and dry ingredients, then roll out the dough. Spread brown sugar and cinnamon on top.
- Roll the dough, slice it, and place in a baking dish. Bake for 25-30 minutes.
Notes
- Let rolls cool before adding cream cheese frosting.
- Store leftovers in an airtight container.
- Use more or less food coloring for desired color.
- Prep Time: 20 minutes
- Cook Time: 30 minutes
- Category: Dessert
- Method: Baking
- Cuisine: American
Nutrition
- Serving Size: 1 roll
- Calories: 320
- Sugar: 18g
- Sodium: 250mg
- Fat: 15g
- Saturated Fat: 9g
- Unsaturated Fat: 3g
- Trans Fat: 0g
- Carbohydrates: 44g
- Fiber: 2g
- Protein: 4g
- Cholesterol: 60mg
Keywords: red velvet cinnamon rolls, cinnamon rolls recipe, homemade cinnamon rolls